you could give a rather dull image a much more dramatic and sharper look with a couple of really simple tricks in photoshop. these tricks have saved my life in many occasions where i had to work with crappy, out of focus raw photos.
applying 'sharpen' with 'brightness/contrast' to such a photo-which seems to be the obvious solution that comes to mind-, does not do the trick with most of the raw images. you might end up losing too much image data on the way, and still get a 'blah' result.
i have to assume that you have at least a little photoshop experience.
yup, here is our starting image:
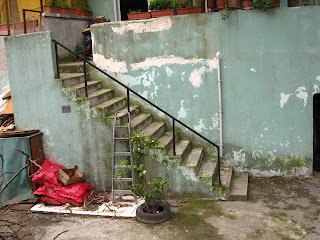 ok, let's begin. just start by downloading the first picture above.
once dowloaded, open the .jpeg file in photoshop (any version will do).
f
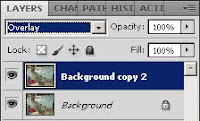 rom the 'layers' tab in the right-hand side menu, duplicate the 'background' layer. change the blending mode from the default 'normal' to 'overlay'. the resulting image should look like this:
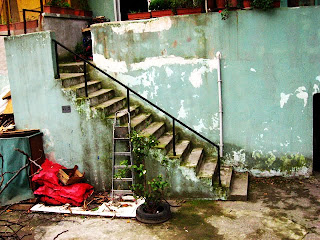 pretty decent looking, high-contrast and all. but i'm still skeptical about the sharpness of the image.
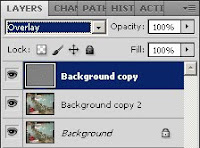 now we will add another layer that will sharpen the image, but it will yield a much more advanced result than the 'sharpen' filter. we will use 'high pass'.
duplicate the 'background copy' layer one more time. again, change the blending of the layer to 'overlay'. don't worry, the super-contrasted look will soon go away. choos
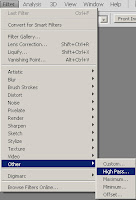 e 'high pass' from filters. that's right, with the uppermost layer chosen, go to 'filters/other/highpass'. tweak the value until you are happy with the sharpness of your image. notice that 'high pass' also adds some detail back to the image.
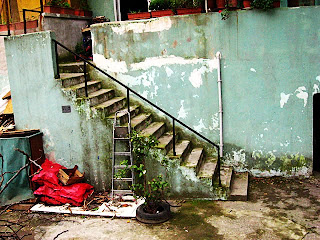
enjoy!
2 comments:
Simple, easy, neat. Makes those synthetic photo filter actions files unnecessary.
thank you very much, razorhead!
Post a Comment